- Empty cart.
- Continue Shopping

How to Properly Clean Laboratory Glassware
- Posted on
marketing01
- Categories: Bulletin & Updates,Library
 marketing01
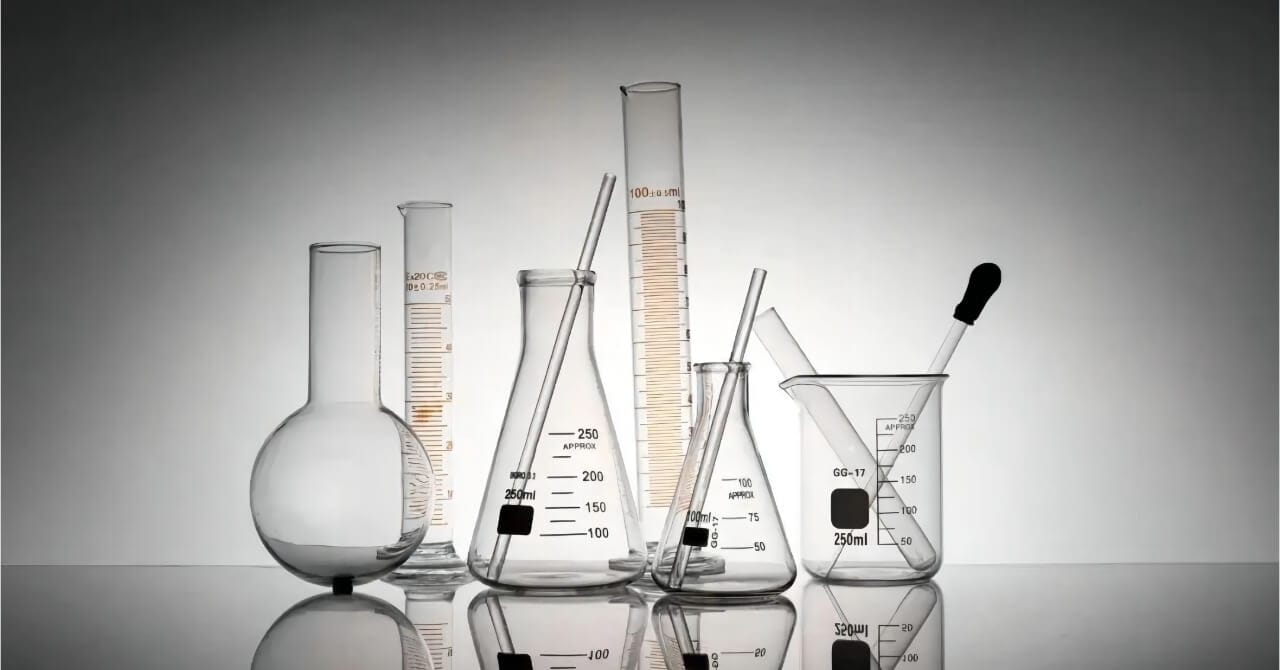
 How to Properly Clean Laboratory Glassware is the fundamental step for achieving reliable scientific data. Even trace amounts of chemical residue can compromise experiments by altering levels, contaminating samples, or distorting precise volumetric measurements. Far beyond simple washing, proper technique ensures a chemically clean surface, acting as a silent prerequisite for the integrity of all your research. This guide outlines the detailed procedures necessary to maintain the highest standard of cleanliness in your lab.
Proper cleaning of laboratory glassware is paramount as it directly impacts the accuracy and reliability of experimental results. Trace chemical residues can inadvertently act as catalysts or inhibitors, leading to unexpected side reactions or reduced product yield. For volumetric instruments like flasks and pipettes, residual grease prevents water from forming a continuous film, causing the liquid to break into droplets (known as beading), which results in inaccurate volume readings. Furthermore, leftover acidic or basic substances can significantly alter the pH of solutions, compromising sensitive reactions. From a safety perspective, thorough cleaning also prevents the residue of hazardous or corrosive materials, ensuring the safety of personnel and subsequent experiments.
Ensures Experimental Accuracy and Reliability: Trace residues can act as catalysts or inhibitors, potentially invalidating results or causing unexpected reactions.
Guarantees Volumetric Precision: Eliminates grease and residues that cause water to “bead up” on the glass surface, ensuring precise volume measurements in instruments like pipettes and volumetric flasks.
Prevents Chemical Interference: Avoids the alteration of a solution’s pH by residual acids or bases, which is vital for pH-sensitive experiments.
Maintains Operational Safety: Thoroughly removes hazardous or corrosive residues, protecting laboratory personnel and the integrity of the workspace.
| Chemical Type | Initial Preparation / Decontamination | Waste Disposal | Final Cleaning Steps |
|---|---|---|---|
| Poisonous | Wear full PPE (gloves, goggles, lab coat) and work in a fume hood. Consult the SDS for the specific chemical. Neutralize or deactivate residues with the recommended agent (per SDS/SOP). | Collect all rinse solutions and contaminated materials as hazardous chemical waste (label accordingly). | Wash with warm detergent solution and scrub as above; rinse thoroughly with distilled water. |
| Corrosive | Always add acid slowly into water while wearing PPE and working in a fume hood. Neutralize fully (e.g. acids with a weak base like NaHCO₃; bases with a weak acid). Check pH of the wash solution. | If the neutralized rinse is near pH 7 and local policy allows, it may be flushed to drain. Otherwise, collect it as hazardous waste (labelled). | Wash with warm detergent as usual, then rinse with distilled water. Ensure no residual acid/base remains (pH-neutral final rinse). |
| Oily / Organic | First rinse with a small amount of an appropriate organic solvent (e.g. acetone or ethanol) to dissolve oils/grease. Perform this step in a fume hood. | Collect the used solvent rinse in a flammable-organic waste container (hazardous waste) for disposal. | After solvent pre-rinse, wash with hot water and a strong emulsifying detergent as above; then rinse with distilled water. Optionally, do a final acetone rinse to speed evaporation. |
Special Cleaning Procedures by Glassware Material Type
Chemical Type | Initial Preparation | Waste Disposal | Final Cleaning Steps |
Borosilicate Glass | Rinse the glassware immediately after use with warm water to prevent residue from drying. Wash with a mild laboratory detergent using a soft brush to avoid scratching the surface. Borosilicate glass tolerates temperature changes better, but sudden extreme heat should still be avoided. | Collect any solvent used during cleaning in the appropriate hazardous waste container. Neutralize diluted acid or base rinses if required before disposal. Ensure all waste containers are clearly labeled according to lab safety guidelines. | Rinse thoroughly with tap water followed by distilled water to remove impurities. Air-dry or dry in an oven below 100°C. Suitable for autoclaving if caps or stoppers are removed. Inspect the glassware after drying to confirm no residue or spotting remains. |
Soda-Lime Glass | Rinse immediately after use and wash gently with a mild detergent. Avoid strong alkaline cleaners or abrasive brushes that may damage the surface. Extra care is needed as soda-lime glass is more sensitive to thermal shock. | Neutralize diluted acid or base rinses as required and dispose according to laboratory guidelines. Collect any solvent waste in approved containers. Do not mix incompatible waste materials in the same container | Rinse thoroughly with tap water followed by distilled water. Air-dry or oven-dry below 100°C. Not suitable for autoclaving due to lower thermal resistance. Check the surface after drying to ensure no streaks or residues remain. |